Building a Bartop Arcade Cabinet: A Pandemic Project Revisited
I was digging through old project photos recently and found the progress shots from my bartop arcade cabinet build. This was a pandemic-era project from early 2021 that I never properly documented on any site, and since the old blog where it originally lived is on its way out, I figured it deserved a spot here at the outpost.
The Premise
I don't have the tools available (nor necessarily the time) to create a bartop arcade cabinet from scratch. Thankfully, there are a few options online where CNC or cabinet shops will mail you all of the pre-cut wood for assembly. For this project I went with the LVL24 2 Player kit from LEP1 Customs. The only extra monitor I had on hand was a 23" display (about 22" wide), and the LVL24 was the only bartop model from this vendor that would fit a screen that size. It was a squeeze.
The Parts List
| Component | Purpose |
|---|---|
| LVL24 2 Player Bartop Arcade Cabinet Kit | The pre-cut MDF frame |
| Raspberry Pi 4 Model B (4GB) | The brains running RetroPie |
| EG STARTS 2 Player Arcade DIY Kit | Joysticks, buttons, encoder boards |
| 40ft Purple T-Molding | Edge trim for that authentic arcade look |
| Black Matte Car Wrap Vinyl | Cabinet side panels |
| Black Carbon Fiber Car Wrap Vinyl | Joystick control area |
| Dual USB 3.0 pass-through panel mount | External controller ports |
| Small USB-powered LED speaker | Audio output |
| 22" x 4" plexiglass | Marquee cover |
| 20" x 12.5" plexiglass | Monitor area protection |
| Black matte spray paint (x2) + clear enamel (x1) | Surface prep for vinyl adhesion |
| Wood glue | Securing the internal banister blocks |
The Build Progress
The rest of this is entirely photos. I found these on an old storage account and wanted to preserve them here before that hosting disappears.
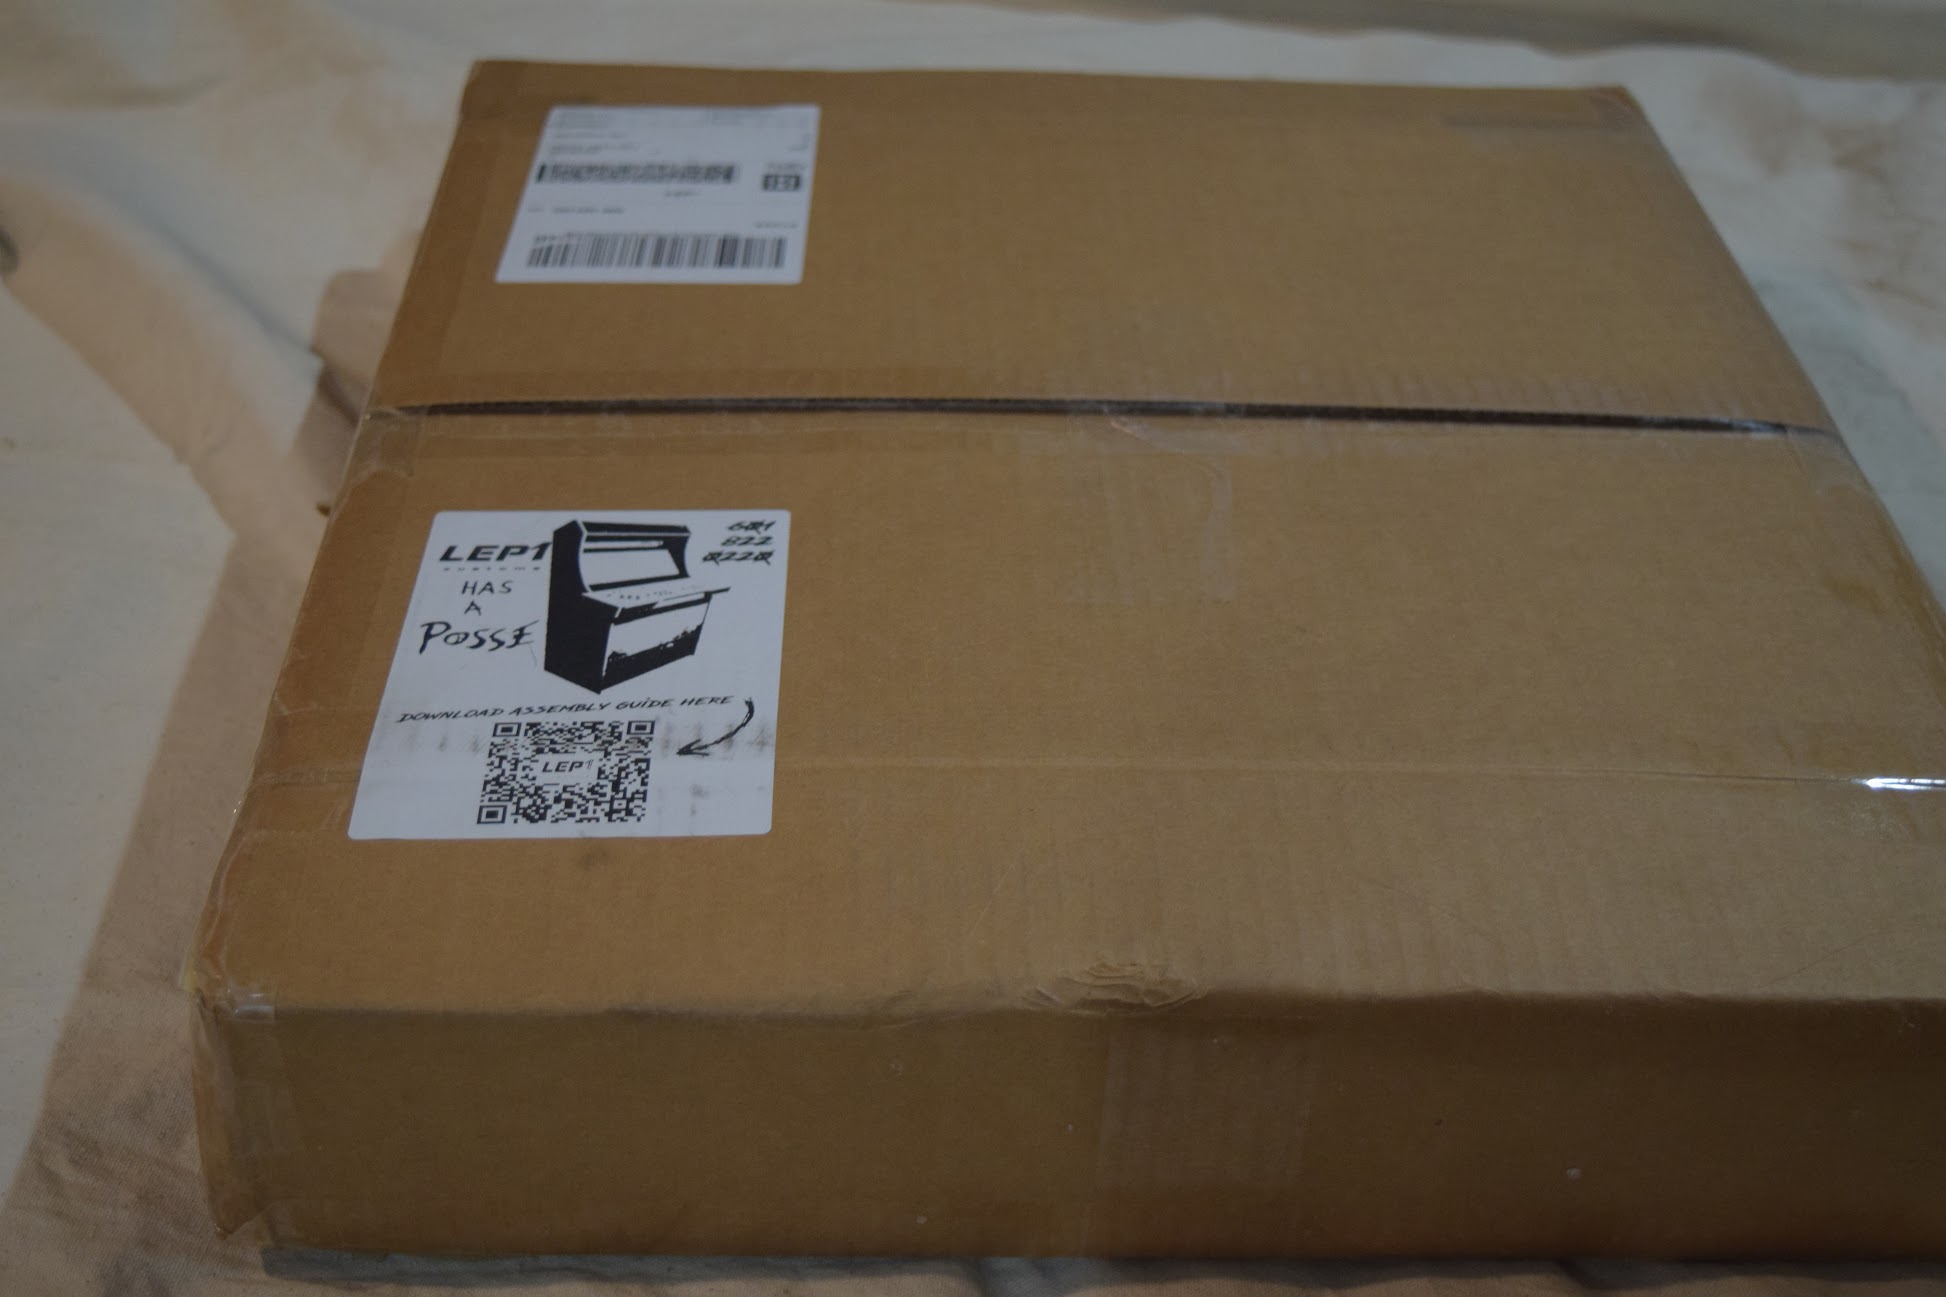
The box arrived, and it was heavier than expected for MDF:
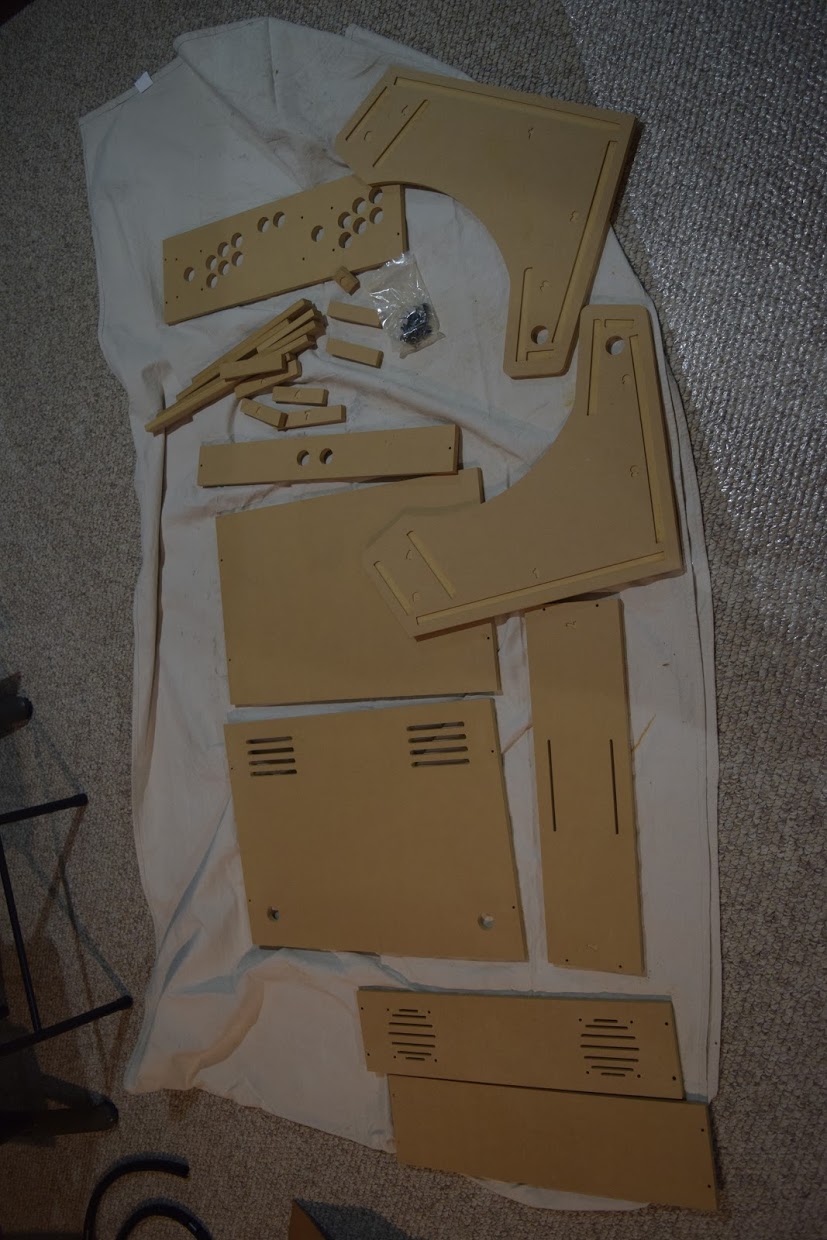
All the parts laid out and checked. One very nice touch: every banister piece that gets wood-glued down is numbered, and the respective numbers are machined into the side-frame pieces. Makes for very easy assembly (except for piece #7, which you measure based on your specific monitor):
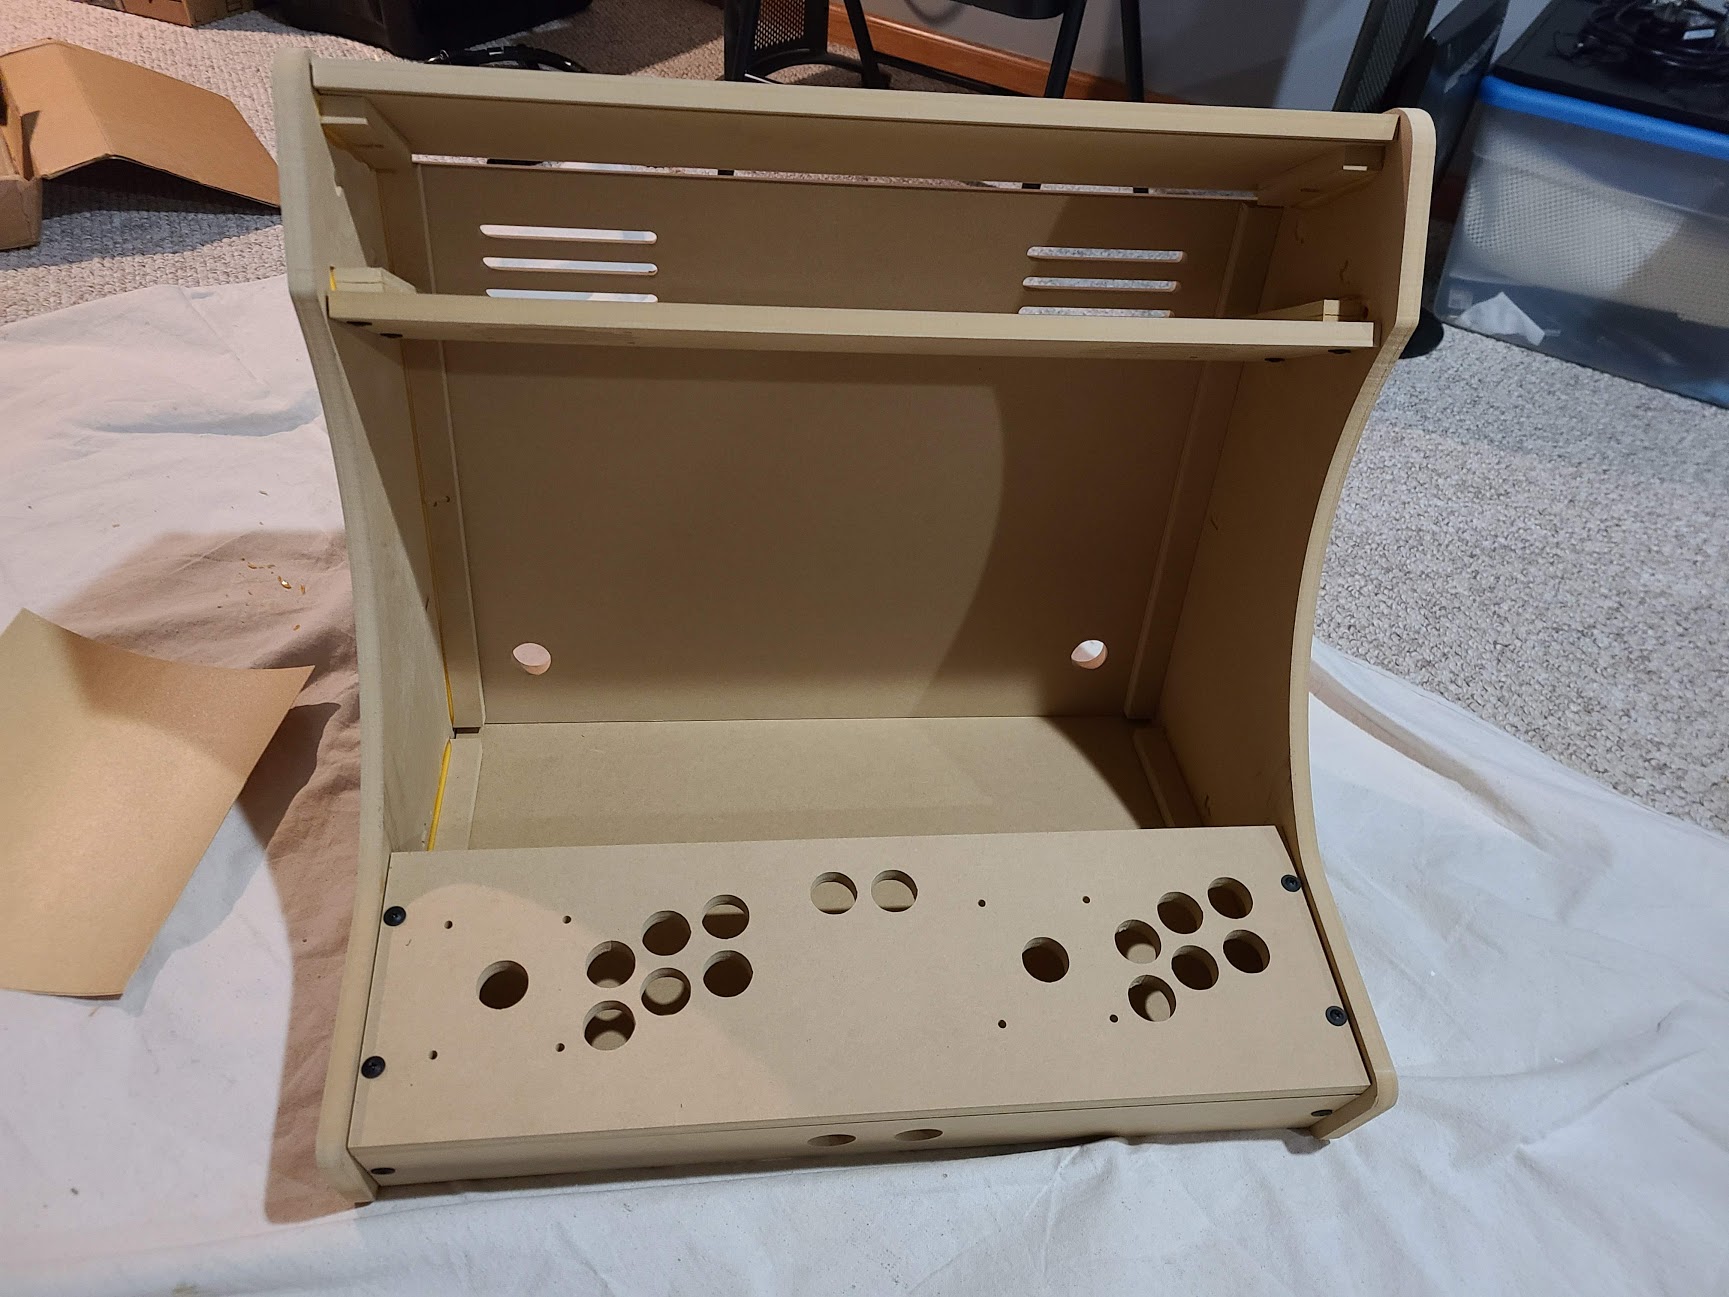
Bare cabinet assembled, no paint or finishing yet:
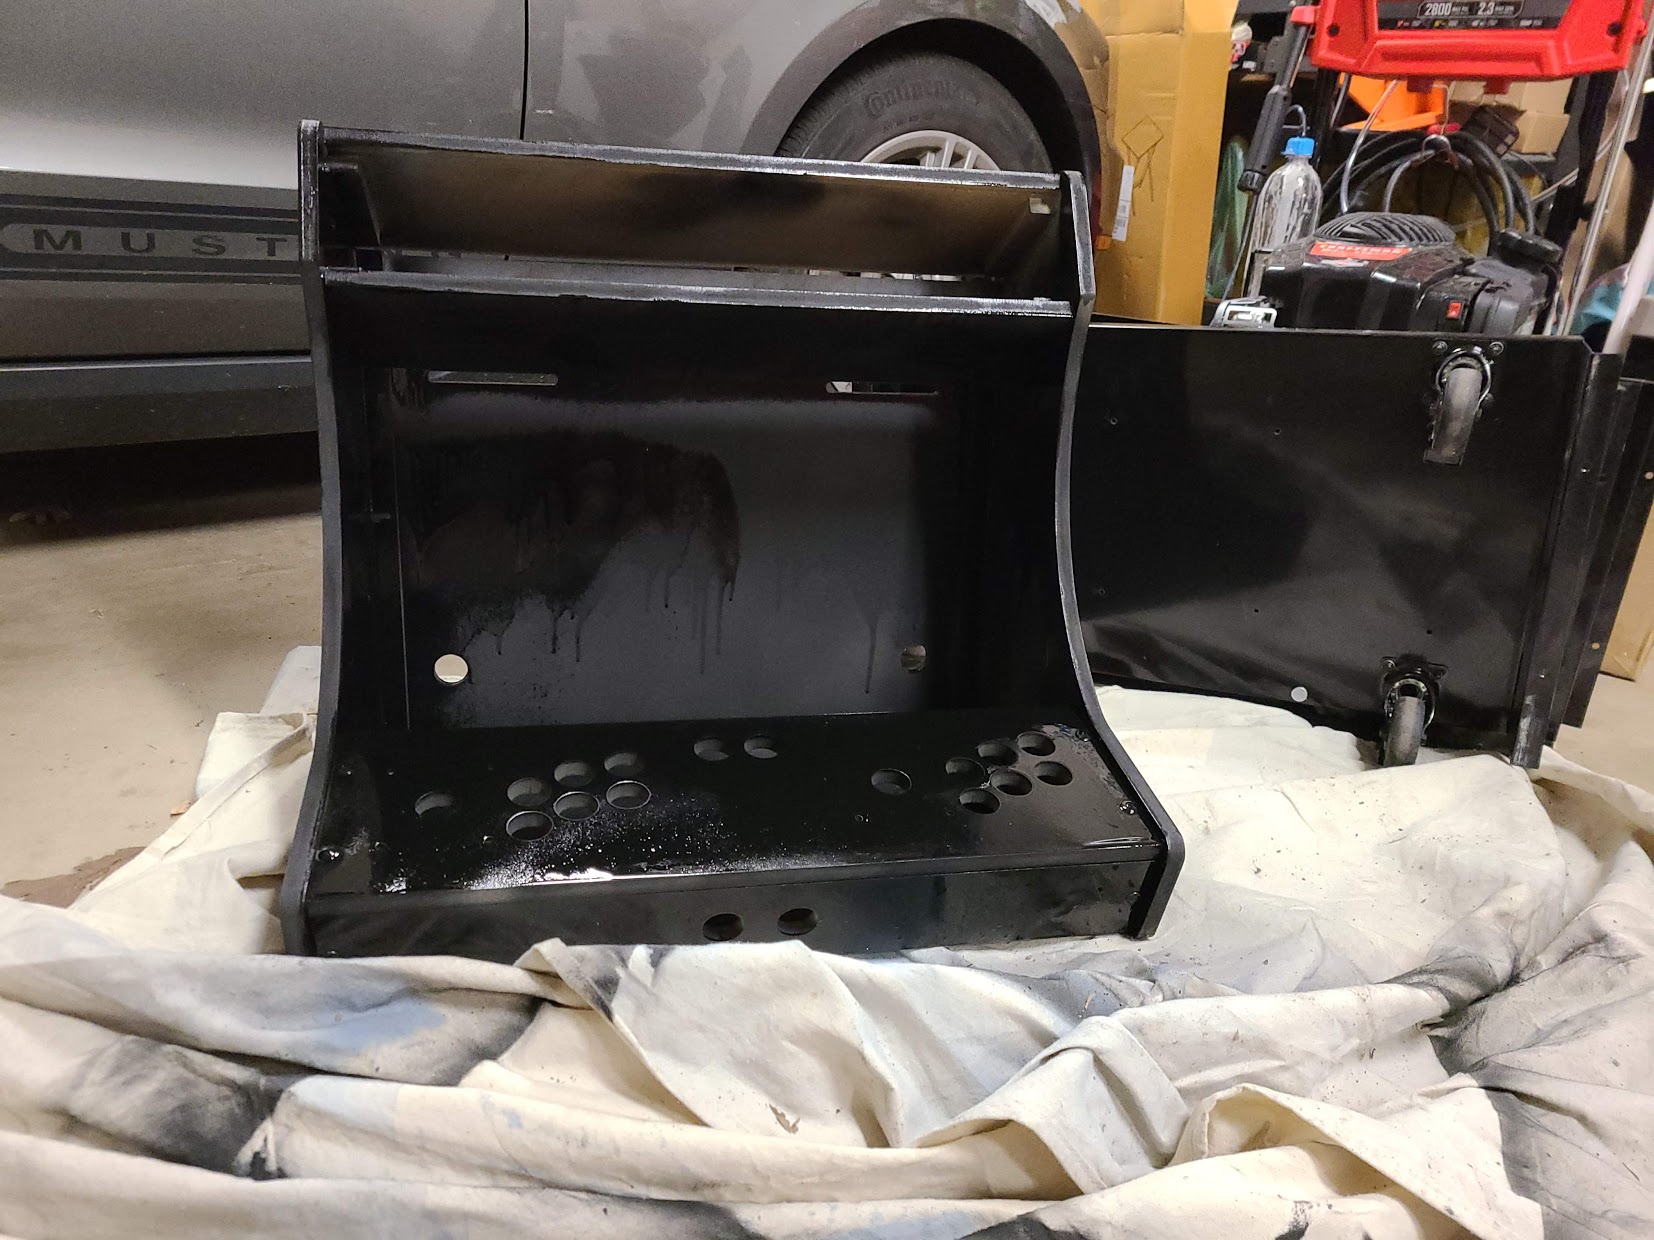
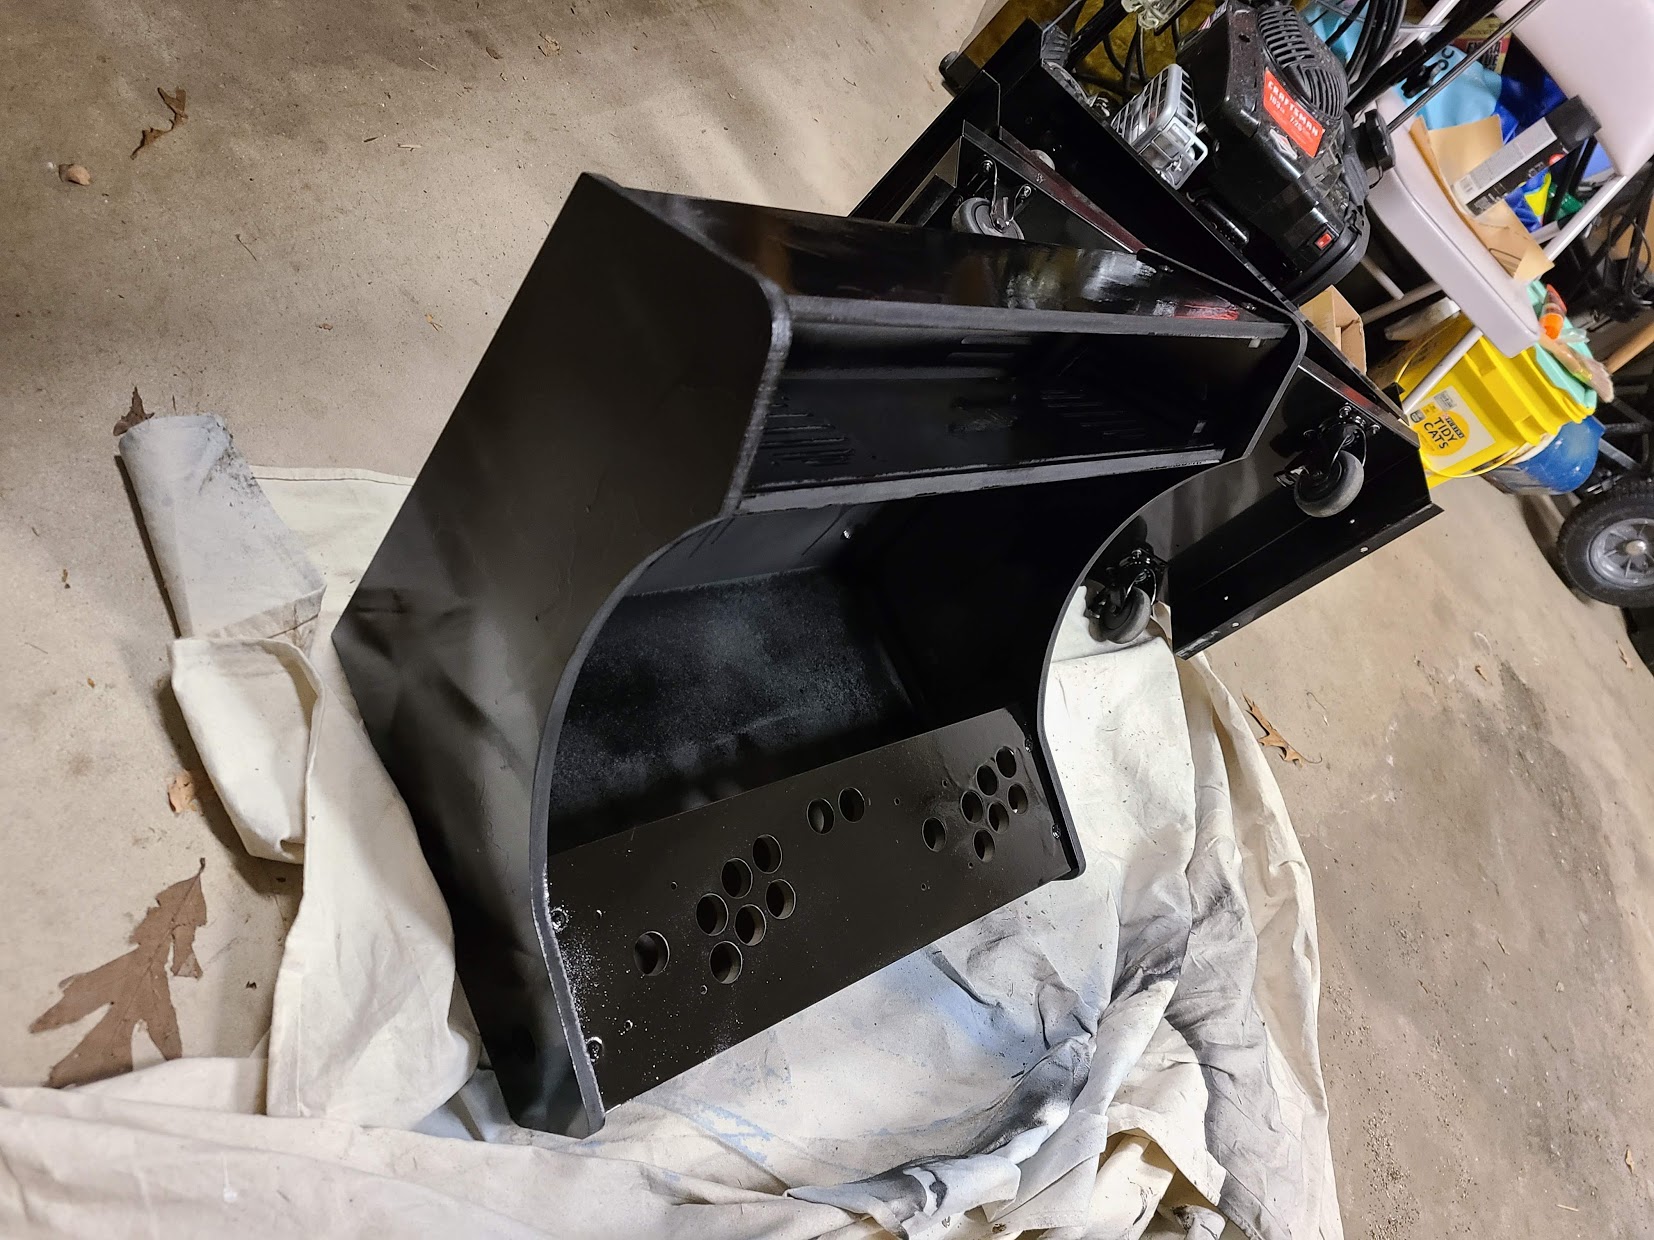
With the cabinet together, it was time to paint. The vinyl I bought won't adhere well to plain MDF, so a combination of black spray paint and a final coat of enamel hard-coat provides the surface texture needed for the wrap to stick:
Where It Ended Up
The cabinet has been a fun conversation piece and the kids love it. It runs RetroPie on the Raspberry Pi (a smaller cousin of my homelab projects), and the two-player setup means there's always a willing competitor nearby. The purple T-molding was the right call for adding a little personality to an otherwise all-black build, and the carbon fiber vinyl on the control surface has held up surprisingly well to years of use.
It's funny in retrospect that this was one of the more satisfying pandemic projects, precisely because it had a clear finish line. No software to maintain, no updates to push. Just a physical thing that exists in the house now, kept outside the productivity framework, ready to play whenever someone walks up to it.